This is the starting map for residential water softener repair. Choose what changed, make one controlled observation, and open the focused guide for that symptom instead of replacing parts from a guess.
01
Choose the symptom before the part
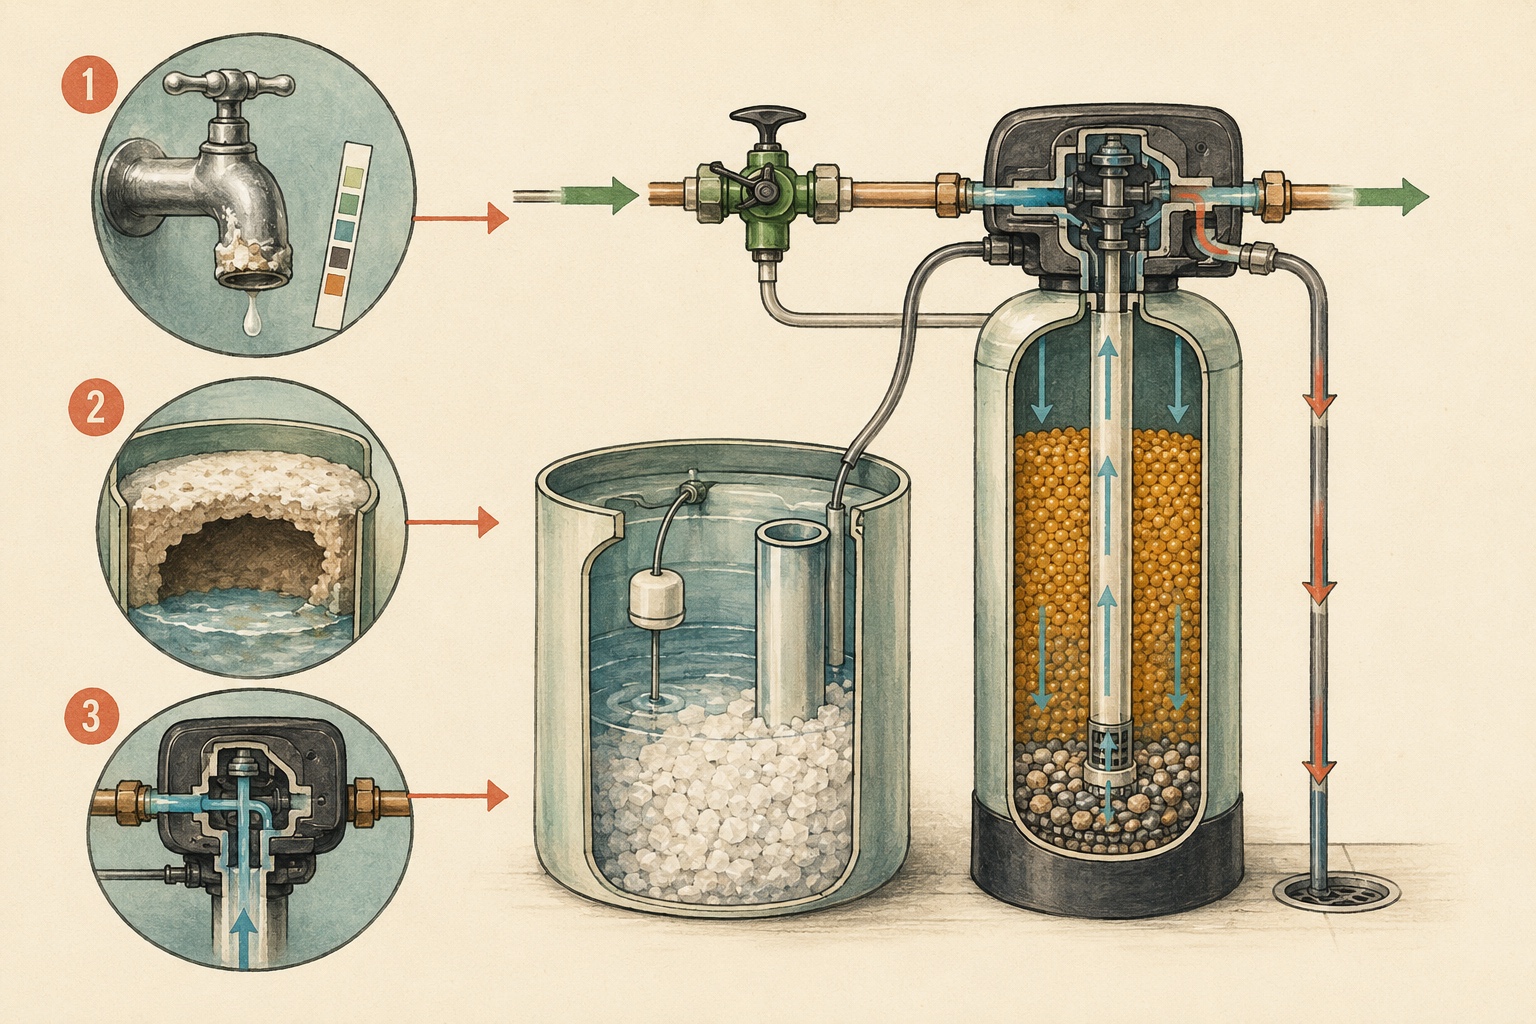
A useful soft water system repair search usually begins with one observable change: water will not soften, the unit will not regenerate, the drain will not stop, the brine tank is high, salt is untouched, pressure falls, water tastes salty, or a leak appears. Each path needs different evidence, so a single universal parts list would be misleading.
Use one focused page at a time. If more than one symptom occurs together, start with active water damage or uncontrolled flow, then keep the secondary symptom in your notes.
02
Make one controlled comparison
Keep the fixture, time window, and test method consistent. Depending on the symptom, the useful comparison may be service versus bypass, before versus after a completed regeneration, incoming versus treated hardness, or the brine level at two named cycle stages. Change one thing at a time so the result remains interpretable.
A bypass result is evidence about the flow path, not proof that a particular seal, rotor, resin bed, or tank failed. Bypass designs vary, so use the exact model instructions and do not force a stuck handle.
03
Follow the repair path that matches the evidence
Drain and cycle problems belong together: identify whether the controller advances, whether flow occurs only in a normal cycle stage, and whether the unit returns to service. Salt and brine problems form a second path: compare salt condition, brine draw, visible tubing, and cycle timing before cleaning or replacing anything.
Performance complaints form a third path. Test hard water, pressure, or taste at a repeatable fixture, then compare the result with bypass and upstream conditions. This keeps a whole-house filter, well system, water heater, fixture, or plumbing restriction from being mistaken for a softener failure.
04
Prepare model-specific evidence for repair
Before contacting support, photograph the rating label, control display, visible hose routing, and the symptom without exposing electrical equipment to water. Record the water source, any upstream filter, recent outage or plumbing change, last completed regeneration, hardness result and units, and the service-versus-bypass result when it can be obtained safely.
Manufacturer troubleshooting procedures can name cycle stages and model-specific checks. They should not be transferred blindly to a different valve platform. The Whirlpool manual cited here, for example, verifies fill, brine draw, backwash, fast rinse, and drain flow on named Whirlpool models; use it as an example of the evidence a manual asks for, not as universal button instructions.
References: Whirlpool WHES33 owner’s manual (PDF)
05
Decide whether to repair, replace, or call
A repair is easier to compare when the tank is sound, the fault is isolated, a compatible part exists, and the quote separates diagnosis, labor, parts, plumbing, warranty, and disposal. Replacement deserves a closer look when a tank is damaged, failures recur, parts are unavailable, or capacity no longer matches tested water and household demand.
Stop DIY work when water damage is active, electrical parts are wet, a leak continues in bypass, the tank or valve body is cracked, the shutoff is unclear, or the next step requires opening pressurized equipment. The goal of this hub is to improve the handoff—not to turn limited observations into a remote diagnosis.